Fiat Dino Spider 2400 Restoration
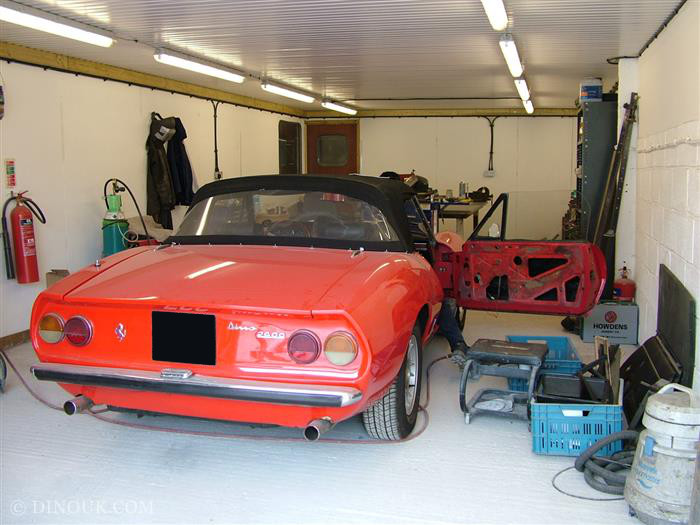
First we stripped the car of the major components. We dropped the engine and box out through the bottom of the car with the front suspension cross member. Luckily all four bolts came undone from the chassis rails which indicates the captive nuts within the chassis rails are in good condition. On some Dinos we have found these to be excessively corroded which generally leads to quite extensive chassis rail repairs. There will be some work required on the chassis rails but hopefully it won't be extensive.We removed the back axle in a similar manner, complete with all suspension. This will later be given a freshen up with new bushes etc, as required.
As the car has previously been extensively mechanically re-built, we intend to keep work to these units to a minimum. It's best to keep them as large assemblies whilst we store them.
We have carefully removed all interior trim, most of which is very good although some will need a freshen up. The electric window motors appear to be a later addition and are not very well fitted. We may well have to re-engineer these when they are re-assembled. We have also discovered that some of the loom has been rather crudely modified. New looms are available for the 2 litre series 2 Spider. It may well be worth installing one of these as we re-assemble the car and modifying as necessary. This may well prove to be a more cost effective method than repairing the original damaged loom.
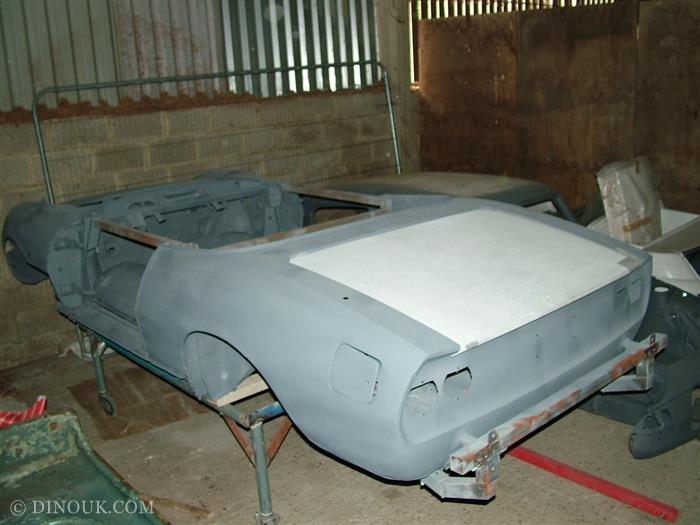
With the body fully stripped we then fitted our strengthening frame. This keeps the door gaps in check whilst work is carried out on the car. It also keeps the body rigid side to side. We then mounted it to our rotisserie and adapted our 2 litre Dino Spider brackets to fit the 2.4 chassis. We were then able to fully rotate the car and assess the previous botched repairs which we intend to correct.
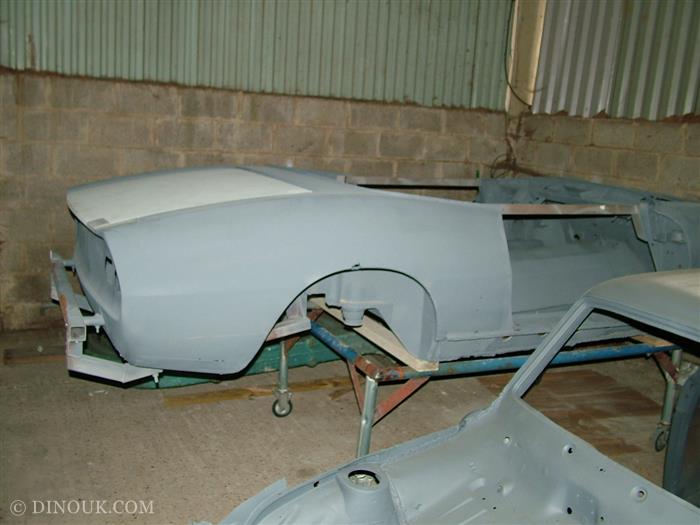
Next we removed the outer sills and the front, lower half wings. This is to allow the media blasters to gain access to the internal box sections and A-posts etc. We were obviously intending to replace these items anyway as they were crudely made reproduction panels that were rather ill fitting. In fact, we're pretty sure the sills have been fitted back to front (i.e the near side fitted to the off side and the off side fitted to the near side!). This leaves the wrong profile to both sill ends and stops the wheel arches flowing nicely into the sills. With the outer sills removed, we discovered the inner boxing plates had been plated over in a rather poor fashion. We ground the welds off and removed this to expose the original inner boxing plate. This has holes with strengthening gussets punched into it. We left the original boxing plate in situ as the holes are large enough for the blasters to work through to clean up the inside edge of the inner sills and we didn't want to take them off at this stage as the vehicle would have to be removed to and from the blasters and we want to keep as much structural integrity as we can to the shell. We also found a plate had been welded into the driver's side floor pan over the top of most of the sound deadening and also over the throttle pedal stop. This was only attached at the floor end and completely unattached at the top and flexing and flapping around! I expect the car will go a lot better once our re-build is complete because this was obstructing the throttle pedal therefore restricting full throttle travel.
We then constructed a jig to enable us to roll the body around. We then shipped it off to the blasters with all the panels. We use a local firm. They do a lot of work on some very high end Ferraris and also regularly prepare Ford Escort shells for a rally specialist. Soda blasting does not heat and thereby stress or distort the metal which makes it a perfect process for a delicate Italian car. The car has come back fully etch primed and ready for the re-metalling process.


